
Handy Baking Tips and Tricks
Below I outline some useful and handy baking tips and tricks that I've learned over the years through the countless recipes that I've tried. I'm no expert, but believe it or not, you can actually learn some things through trial and (lots of) error. Yep, experience can be pretty helpful sometimes. So read through the tips, with corresponding recipes where I've executed those methods, if you feel so inclined.
1. Room temperature butter
Almost all recipes that use a creaming method require the use of room temperature butter. This enables the butter and sugar mixture to become thoroughly light, airy, and fluffy. But what if you need to bake something ASAP, and don't have time to wait a couple hours for your butter to get to the proper temperature? Just stick it in the microwave for a few seconds. It's not ideal, because the heat doesn't always evenly distribute throughout the stick of butter, but it's good enough. Get your butter to a softened stage where it's just starting to melt at the bottom, and you're good to go.

2. Room Temperature Liquids
Aside from just using room temperature butter, unless otherwise stated, all the other ingredients in your recipe should be at room temperature as well. This includes the eggs, milk, juice, and any other liquids a recipe may require. Of course, you can speed up the process again by putting liquids in the microwave for a few seconds and placing eggs (still in their shells) in a bowl of warm water to warm up quicker.


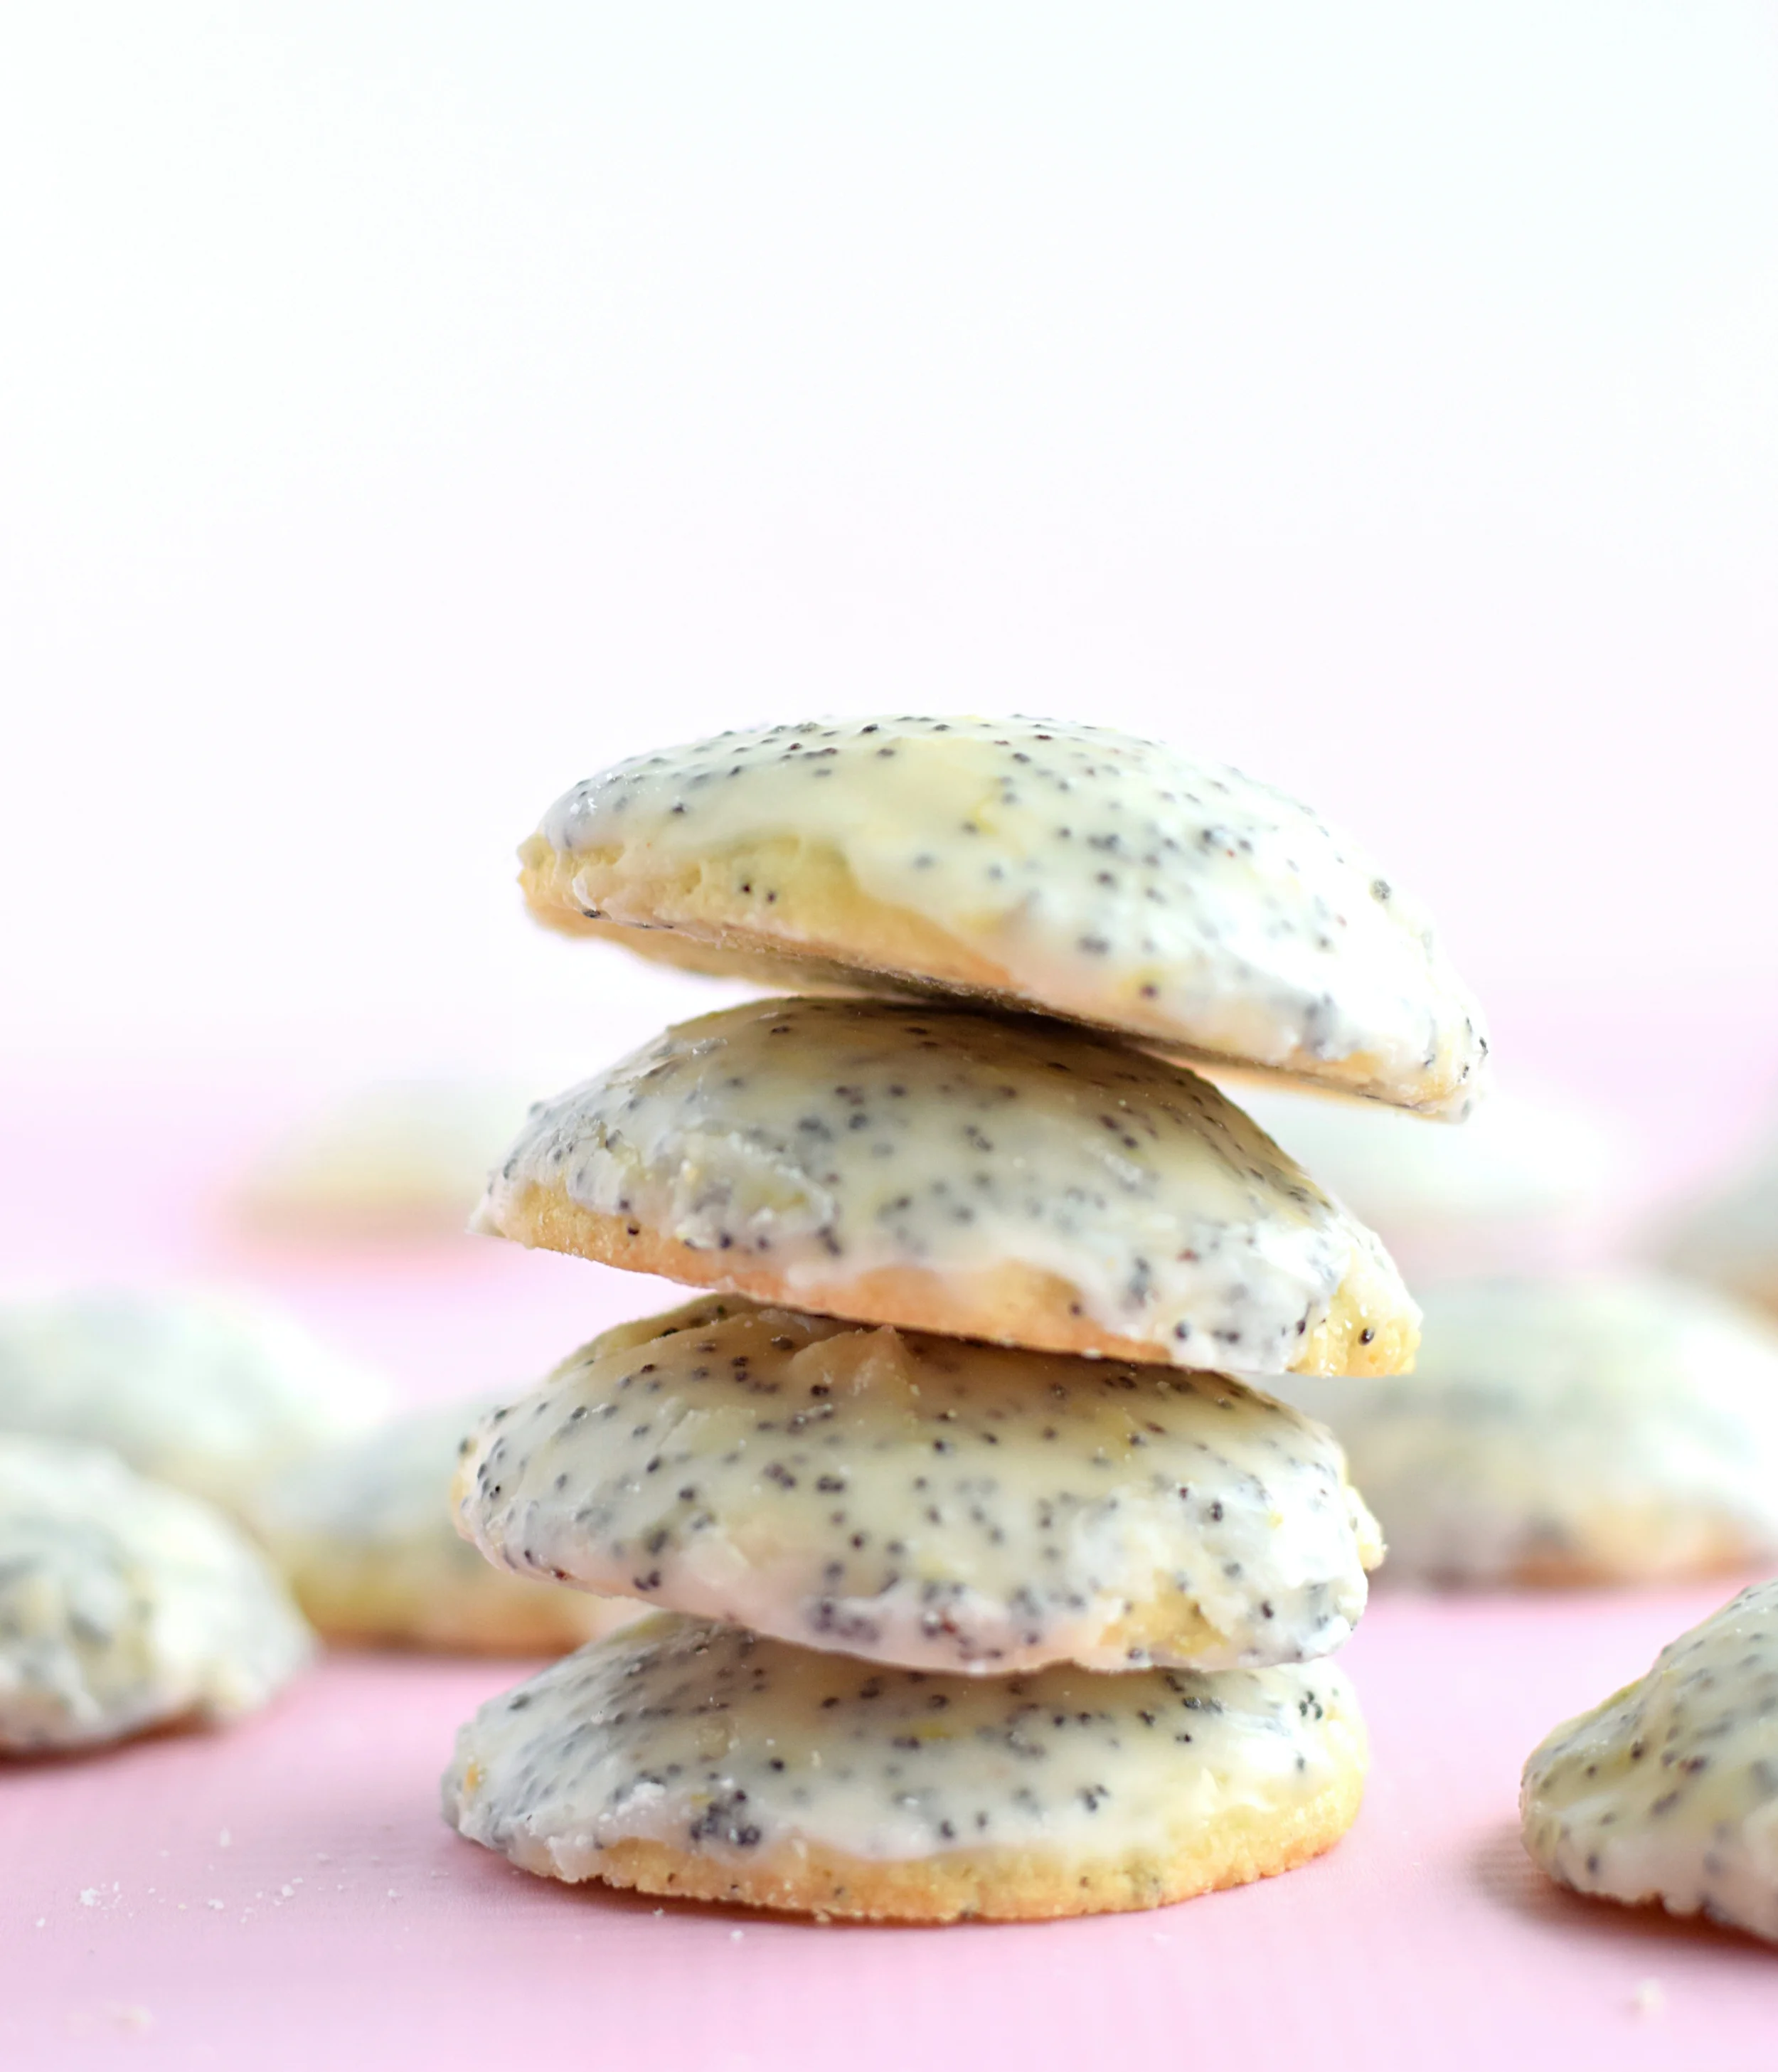
3. making flawless cookies
The minutia will vary from recipe to recipe, but here is the general breakdown of how you should be making your cookie doughs:
1. Cream the butter and sugar with a paddle attachment until the mixture is whitish, light, and fluffy (or, if the recipe uses oil or melted butter, stir/beat it with the sugar).
2. Mix in the liquids (eggs, extracts and flavorings) and stir till they're fully incorporated.
3. Combine your dry ingredients and stir into the dough until it's JUST combined. Stop when there's still a few specks of flour remaining.
4. If applicable, stir in the chocolate, dried fruit, oats, or nuts that the recipe requires.
5. If you want softer, more gooey cookies, bake them a minute less than a recipe dictates. If you like your cookies crispier and more well-done, bake them a minute longer.


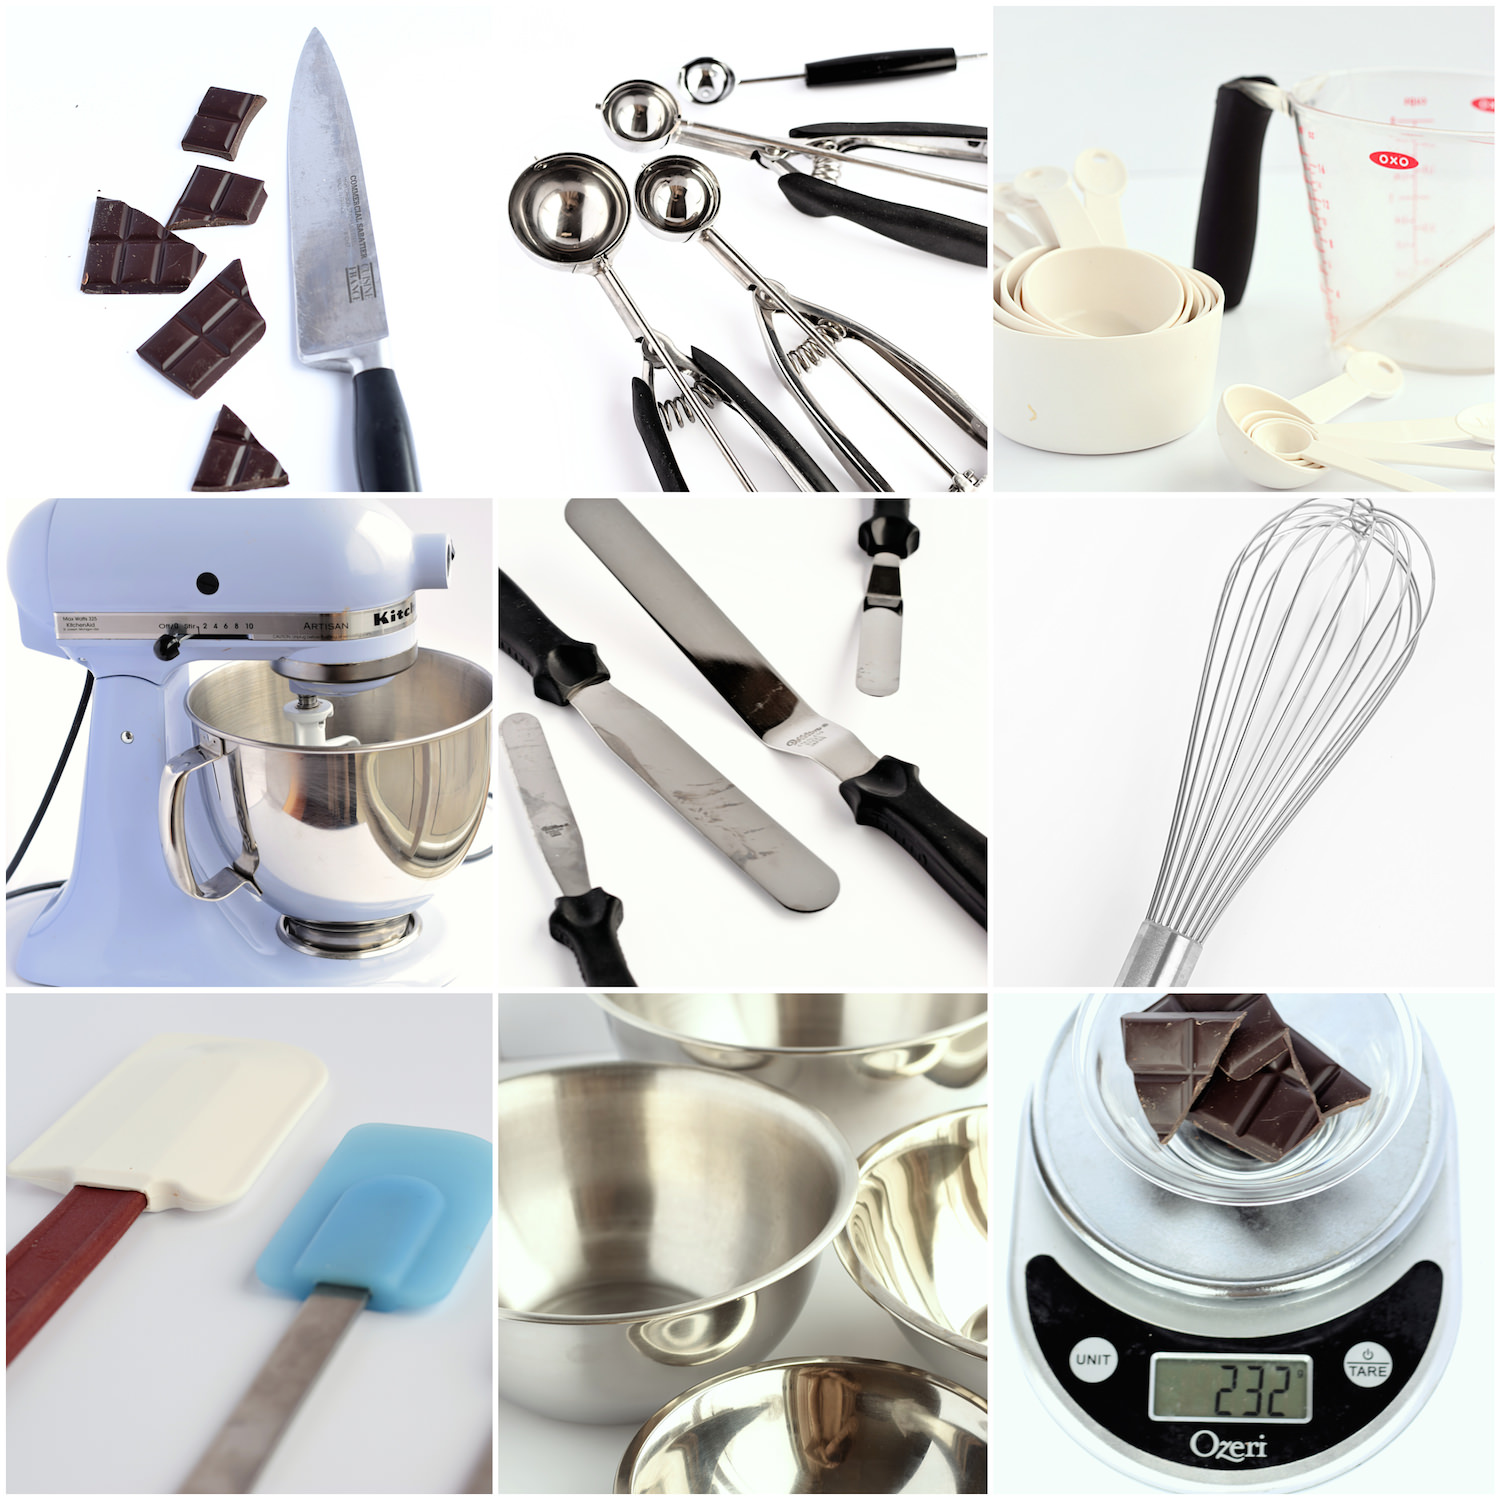
4. use the proper measuring tools

Until a couple years ago, I never knew that there were two types of measuring tools - liquid measuring cups and dry measuring cups. Growing up, all I ever had in my house was a single liquid measuring cup, and everything, from the flour to the sugar to the oil to the chocolate, was measured in it. (Now that I'm confessing that, I may as well just go ahead and add that I also didn't use proper measuring spoons but rather just the regular metal spoons we had in the kitchen drawer.) And then I wondered why my finished products looked nothing like the pictures in the cookbooks. Now I know better and measure everything properly. Liquids go in liquid measuring cups, dry ingredients go in dry measuring cups, and small measurements go in proper measuring spoons. And, when I need to measure something written in ounces, grams, or pounds, like butter or chocolate, I use this kitchen scale. Only five ingredients can be measured by weight or volume interchangeably (ex. 1 cup milk = 8 oz. milk). These five ingredients are 1. Milk 2. Water
3. Wine 4. Vinegar 5. Eggs (scramble them first, then measure them in a cup). For all other ingredients, this rule won't apply, so 1 cup oil, for example, won't equal 8 oz. oil. But even with these five exceptions, it's always best to follow a recipe exactly: if the recipe calls for 8 oz. milk, weigh it. If the recipe says 1 cup milk, measure it in a cup.
5. know your oven
I don't have a convection oven, so I can't stick a tray in my oven and rest assured that all the sides will be baked equally. Rather, after many batches of cookies, I've finally learned exactly where to place my trays and sheets so that everything gets baked evenly. When I make cookies, I never place a sheet on the bottom rack - doing so causes the bottoms of my cookies to brown without actually properly baking them throughout. It's annoying, because I can't bake everything at once, but the results I get from only using my top rack make it worth it. I put one sheet in the center of the rack, rotate it halfway through baking, and then repeat with my second tray. Figure out your oven and where to place your trays so that your goods bake evenly. Also, just in general, your cookie sheets shouldn't touch the sides or back of the oven, or another tray. This causes browning/burning of the cookies touching those spots.
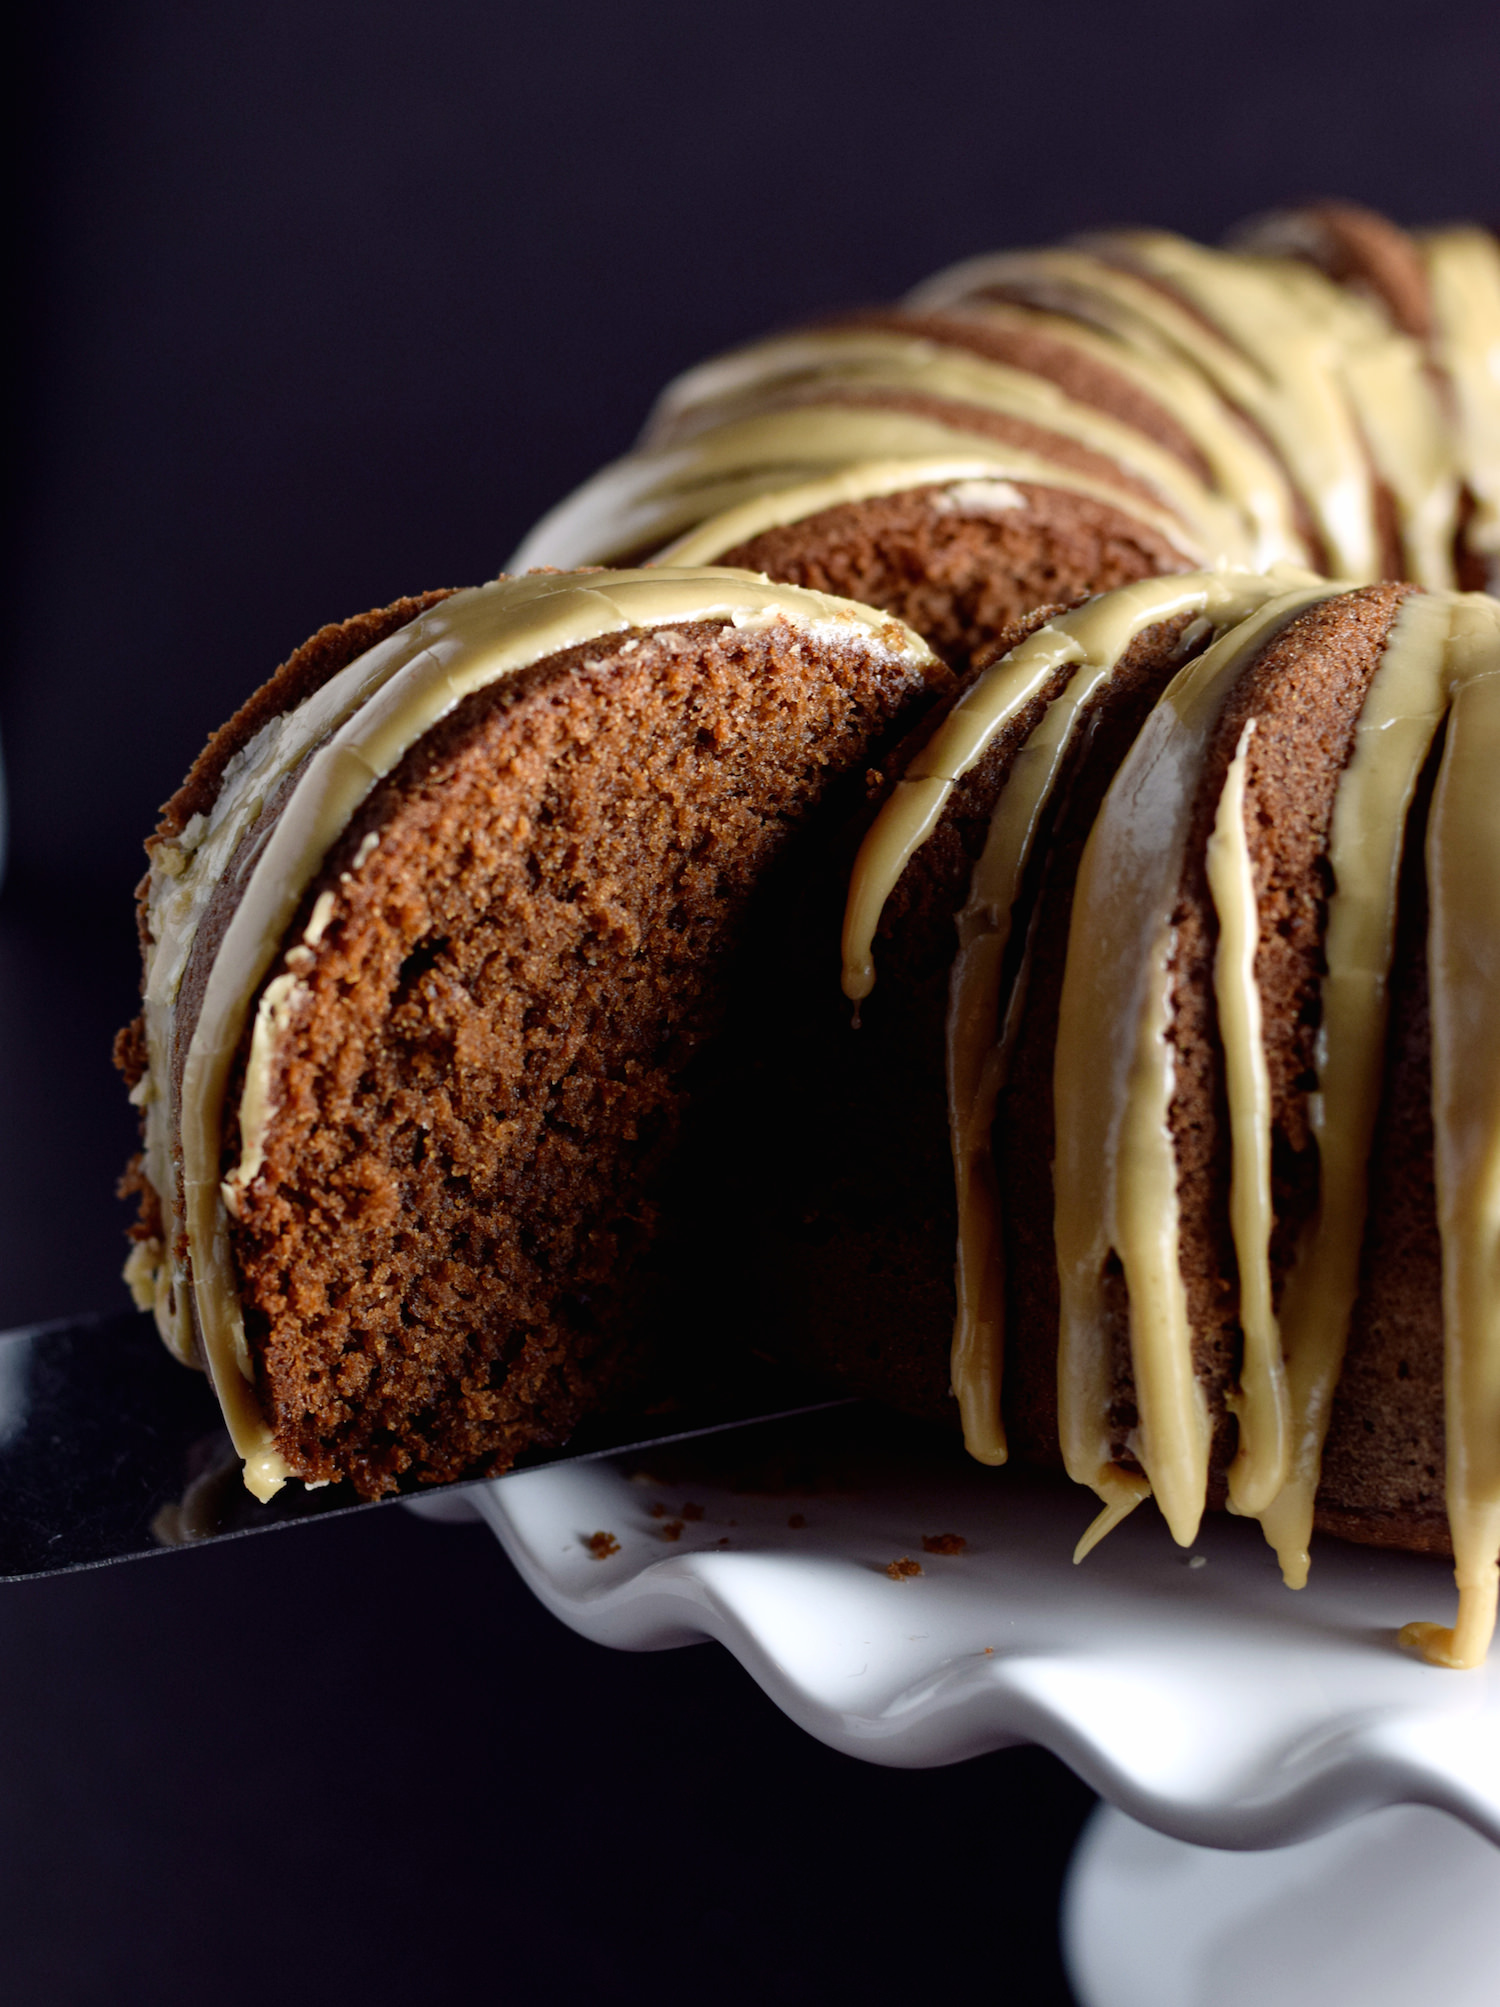
6. always flour and grease pans
Don't rely on the fact that your bakeware reads "non-stick." Butter up those pans regardless. Line the bottom of your pan and line or grease the sides with butter or spray oil (ones with flour in them work best). Be extra generous with cakes that you need to completely remove from the pan, like a bundt cake or a round cake that's not in a springform pan. With these, you should not only line the bottom and and grease the sides, but also flour everything so that you're ensured a hassle-free and clean cake removal.


7. Don't skip the salt

When a recipe calls for a pinch of salt, a 1/4 teaspoon salt, or half a teaspoon of salt, don't skip it! It's imperative. Salt brings out all the other flavors in the baked good so it doesn't end up tasting overly sweet and one-dimensional. Lately, I've been on a salt kick and have been topping all my baked goods with flaky or course salt, but I wouldn't recommend you do the same, because many people don't appreciate it. If you're just as obsessed with salt-topped cookies as I am, just sprinkle it on your own cookies and leave the rest of the batch out of it.
8. Cool it down
After they finish baking, let your cookies sit on the sheet a few minutes to harden before moving them, and let your cakes sit in their pans for 10 minutes before inverting them. If you're frosting or icing a cake, let it cool COMPLETELY before doing so. If not, you'll end up with melted frosting, translucent icing, broken cake layers, a big mess everywhere, and anger management issues.


9. bread
When dealing with products that have yeast in them, here are a few guidelines I like to follow:
1- Recipes will give you a set amount of time in minutes that you should be kneading your dough for, but use your own judgment and knead until you feel the dough is smooth and springy.
2- Although baking ingredients and ratios are crucial, when it comes to bread, sometimes you'll need less or more flour than a recipe calls for. So if you've put in the proper amount of flour but the dough is too sticky, add more. And vice versa. Just don't put all the flour in at once, because you might not need it all. If the dough looks dry and tough, you've probably put too much flour in.
3- Both sugar (or any other sweetener) and salt are essential in a bread recipe. Sugar feeds the yeast and lets it develop. Salt stops the yeast growth and prevents the dough from rising too much, and also imparts flavor.
4- The water used in a bread recipe should be between 70-110 F, or warm to the touch.
5- I like letting my dough rise in a garbage bag. This way, the bowl is completely covered and in total darkness, enabling the yeast to work its magic in the most efficient way.
6 - I let my dough rise in a warm spot, and since my house is usually pretty chilly, I place the dough on the stovetop, where it's warmer, especially when I'm pre-heating the oven.


10. Flour Power
There are four types of flour:
1. Cake Flour - it's almost the same as pastry flour, and can be used interchangeably. It's lower in gluten, whiter than bread flour, and is used in cakes, cookies, pies, and tarts.
2. Pastry Flour - see above.
3. All Purpose Flour - it's used in both cakes and breads and is the most commonly used type of flour. Made up of 50% cake flour and 50% bread flour, all purpose flour can be substituted for either cake or bread flour, but it's not as good as using the specific flour the recipe requires.
4. Bread/High Gluten Flour - it's used for breads, pizza doughs, etc. It's darker than cake flour and has a higher gluten content.


On a completely unrelated note, AMEN:

photo from dump a day dot com